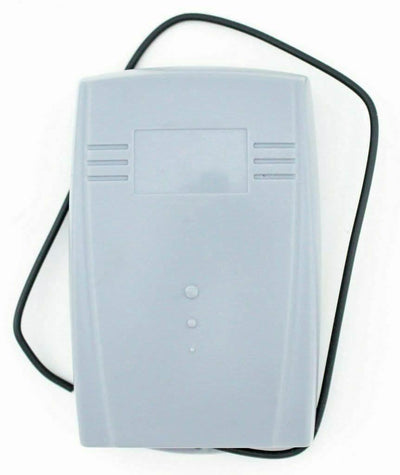

How to Code Remotes to and Wire the HomeLink Compatible Garage / Gate Receiver
Wire the HomeLink compatible receiver to your motor's supply and push-button terminals, then code remotes with the Learn 1 button. Includes the terminal guide and how to erase the memory.
- The receiver module
- Your motor's manual to identify its terminals
- Small screwdriver for the terminal block
- Remotes or HomeLink to be coded
This receiver adds a 433.92 MHz channel to almost any garage or gate motor so that HomeLink-equipped cars and compatible remotes can operate it. There are two parts: wiring the receiver into the motor, and coding remotes to it.
Applies to
The HomeLink compatible garage and gate receiver control unit / module.
Before you start
Have your motor's manual handy to identify the supply, common and push-button terminals. Switch the motor off at the power point before wiring.
Independent programming guide for compatible replacement remotes. Brand and model names belong to their respective owners.
Step-by-step instructions
Wire the receiver to the motor
Connect V+ on the receiver to the motor's 12V or 24V supply terminal, GND to the motor's COM / Common / GND / 0V terminal, CH1 left to the motor's push-button input (often marked PB, WB or OSC) and CH1 right to COM / Common / GND / 0V. Check your motor manual if the terminals are numbered or unlabelled.
Power up
Restore power to the motor. The receiver's learn LED should be off, ready for coding.
Press Learn 1 once
Press and immediately release the Learn 1 button (top left on the receiver). The learn LED lights.
Hold a button on the remote
Press and hold any button on the new remote (or start the HomeLink pairing in the car). The learn LED begins to flash and then goes out, which means the code is stored.
Test
Operate the door with the remote. If nothing was pressed within 10 seconds of step 3, the LED flashes and goes out on its own and you will need to repeat from step 3.