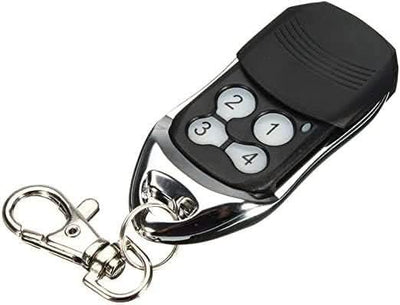

How to Program an ATA PTX-5 v2 TrioCode 128 Compatible Garage Remote
Program a compatible ATA PTX-5 v2 TrioCode 128 remote in about five minutes: hold the blue Door Code button on the motor, press the remote twice for two seconds each, release and test.
- The new compatible remote with its battery fitted
- Access to the Door Code button on the ATA motor or receiver
- A pin (only if pairing to a gate through an original remote)
ATA TrioCode motors learn a remote through the blue Door Code button on the motor (or SW1/SW2 on a stand-alone receiver). The whole process is a hold on the motor and two timed presses on the remote.
Applies to
Compatible replacement remotes for the ATA PTX-5 v2 and TrioCode 128 handsets used with ATA garage door openers and TrioCode receivers.
Before you start
Locate the blue Door Code button on the motor. On some models it sits under a plastic cover. If your remote is for a gate and you cannot reach the receiver, see the FAQ for pairing through your original remote.
Independent programming guide for compatible replacement remotes. Brand and model names belong to their respective owners.
Step-by-step instructions
Uncover the motor buttons
Some ATA motors have a plastic cover over the buttons. Remove it so you can reach the blue Door Code button (SW1 or SW2 on a separate receiver board).
Hold the Door Code button
Press and hold the blue Door Code button on the motor. Keep it held down until step 5.
Press the new remote for 2 seconds
Press the button on the new remote that you want to operate the door and hold it for 2 seconds, then release it for 2 seconds.
Press the same button again
Press the same remote button again for 2 seconds. This second press confirms the code.
Release the Door Code button
Let go of the Door Code (or SW) button on the motor.
Test the door
Press the programmed button on the new remote. The door should operate. Repeat for any other remotes.